How do I post a job?

- First, you need to log in to https://portal.prosple.com/. (If you don’t have a login, please contact hello@prosple.com and request an invitation email with all the details you need)
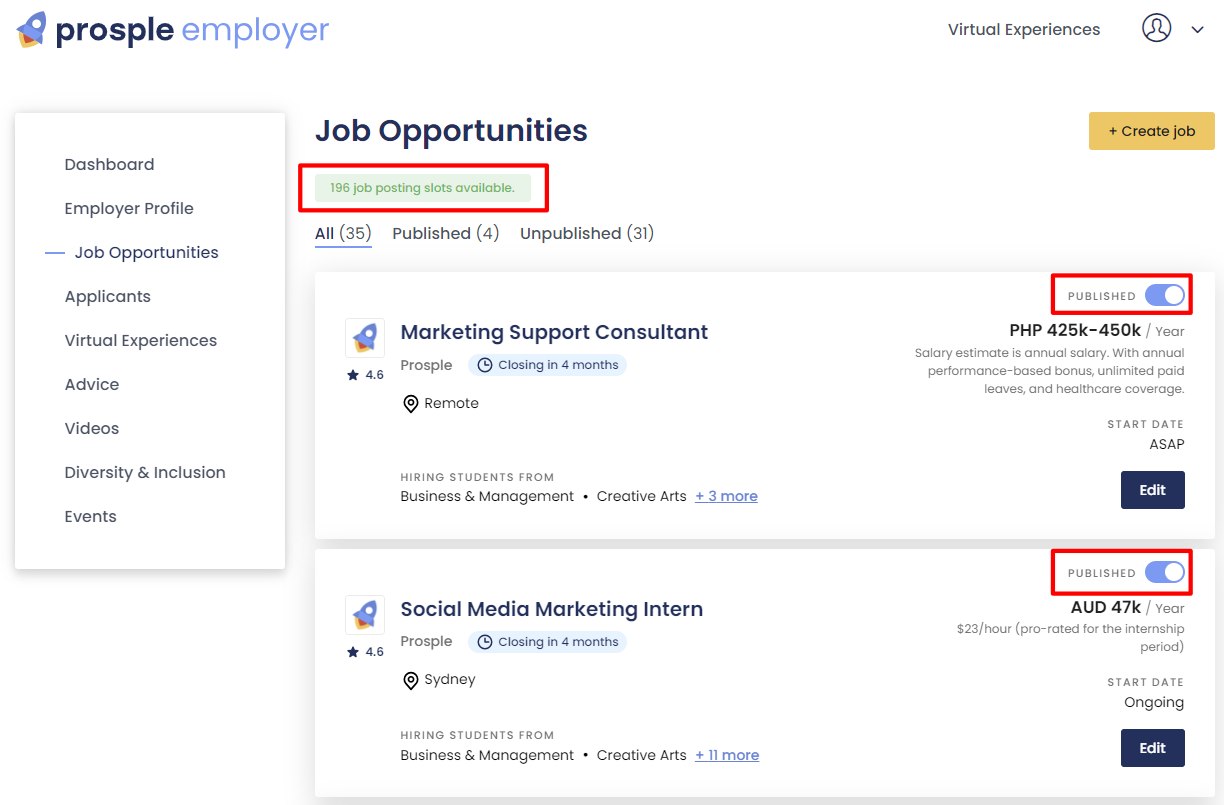
- Once you're in, click “Job Opportunities” on the Menu on the left hand side.
- From there you will see all the jobs currently/previously live on your profile.
- Click the “Create job” button to create a new job, or click on any existing opportunity to update/edit it.
- A single job opportunity will have 7 sub-sections:
- Basic Details
- Position Description
- Hiring Criteria
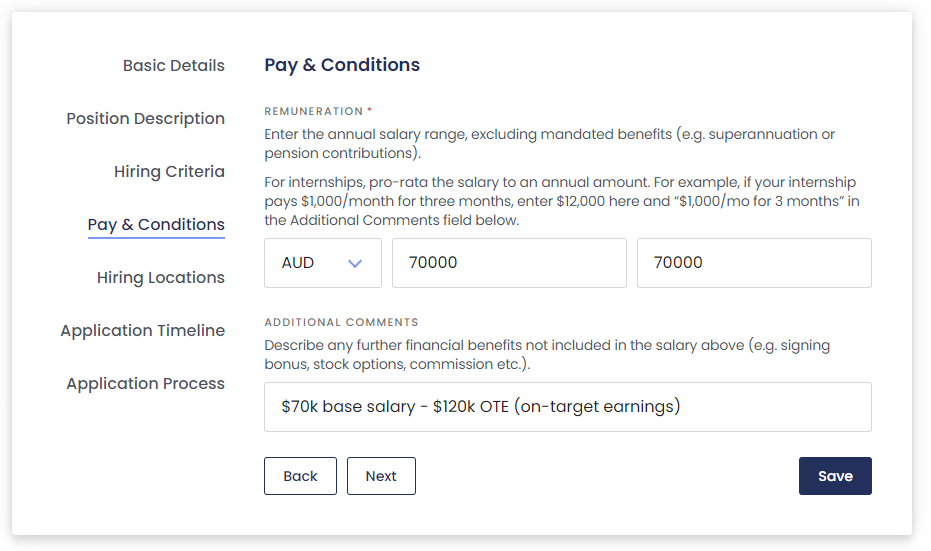
- Pay & Conditions
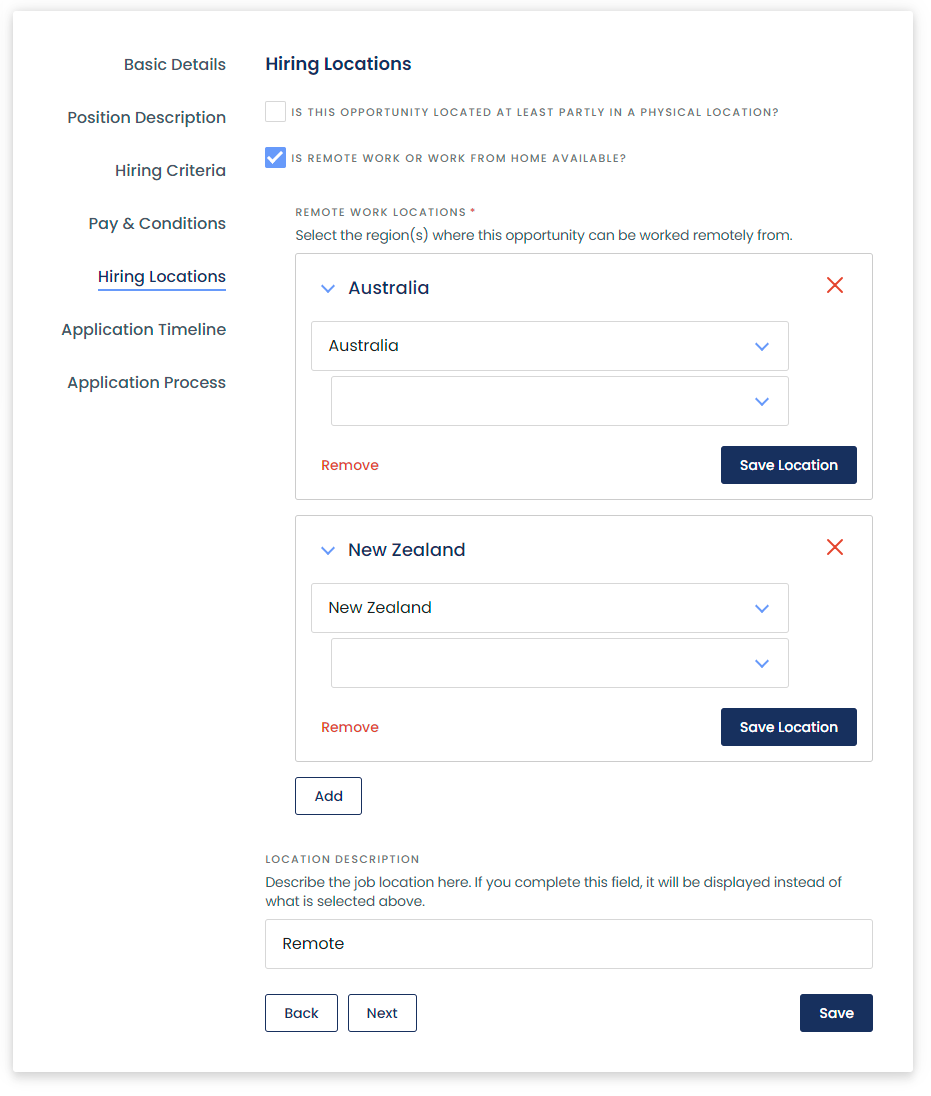
- Hiring Locations
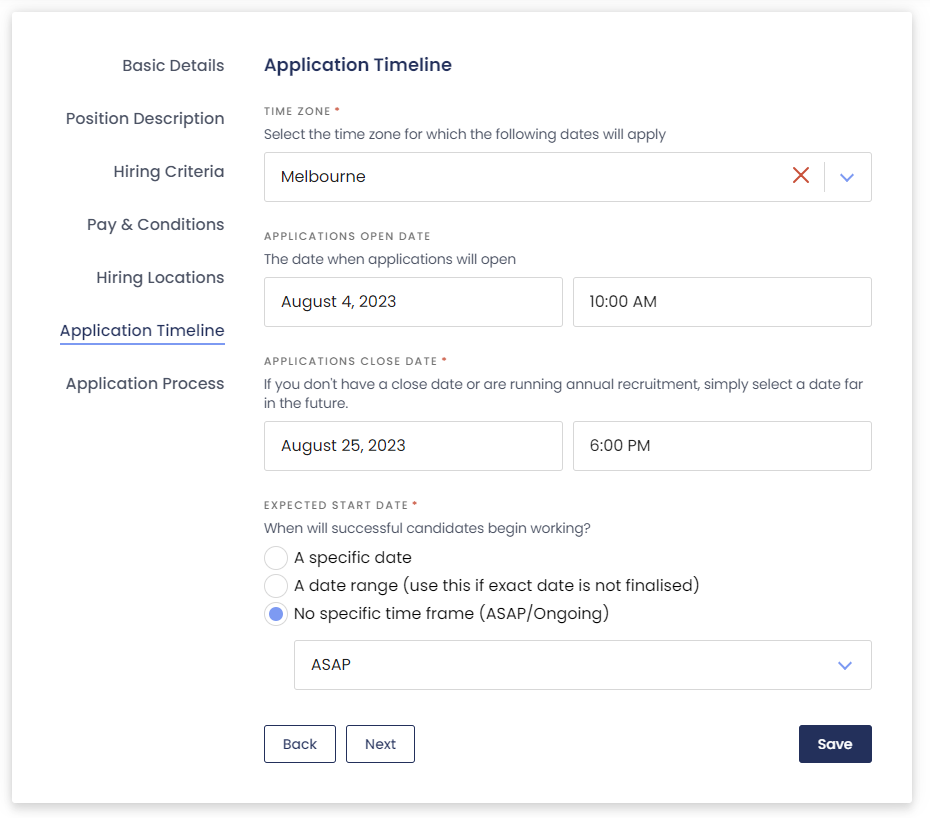
- Application Timeline
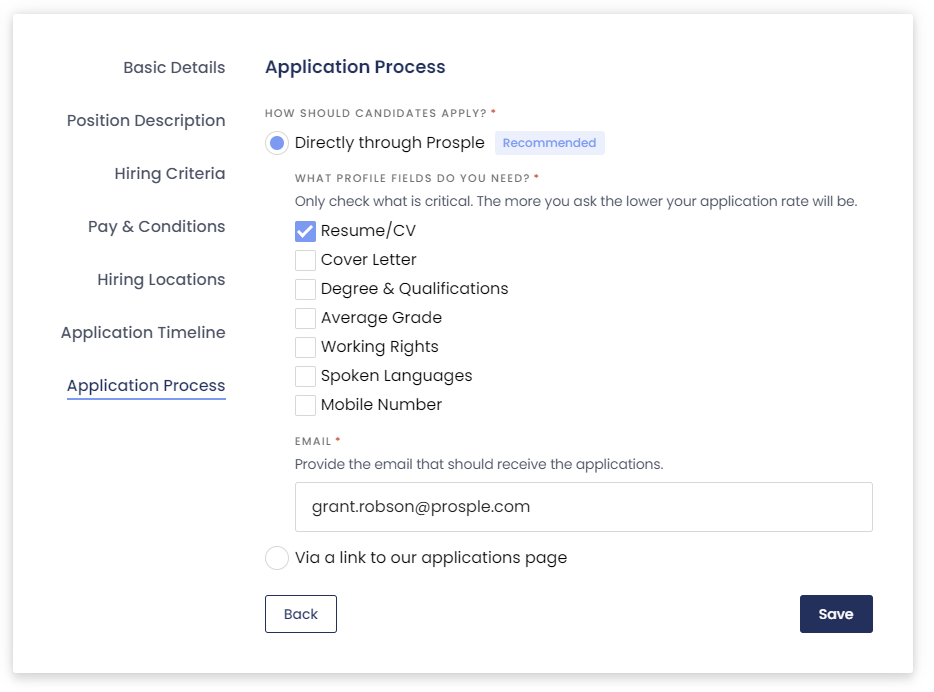
- Application Process
Basic Details
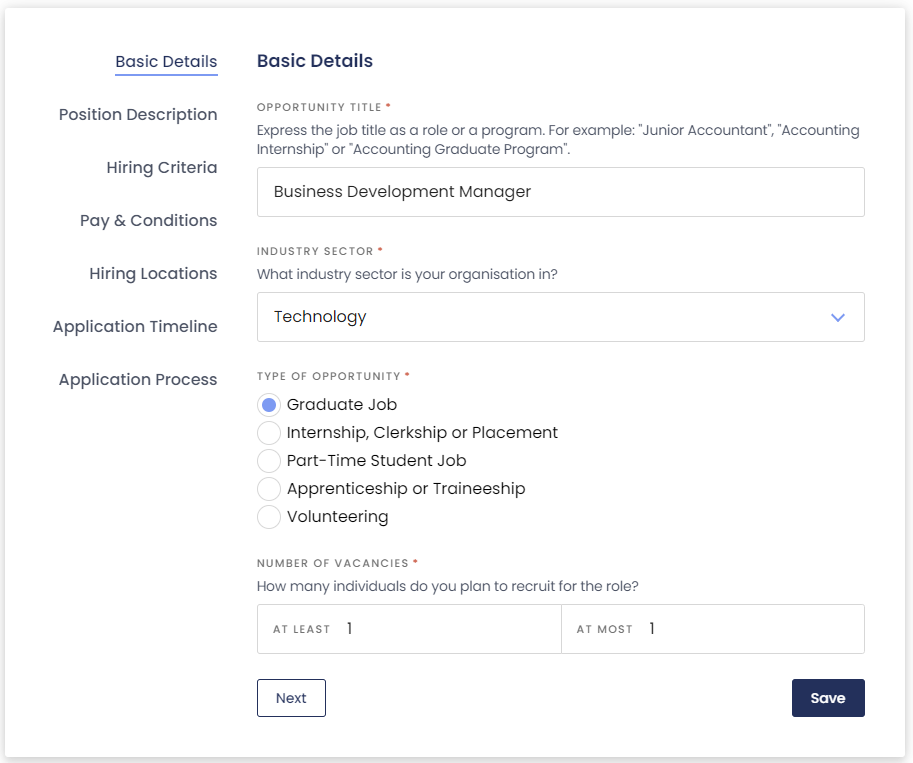
This section will ask you to complete the following fields;
- Opportunity name - Follow the suggested naming format for students to easily identify your job post
- Industry sector - The same sector you picked in the employer profile section
- Type of opportunity
- Number of vacancies
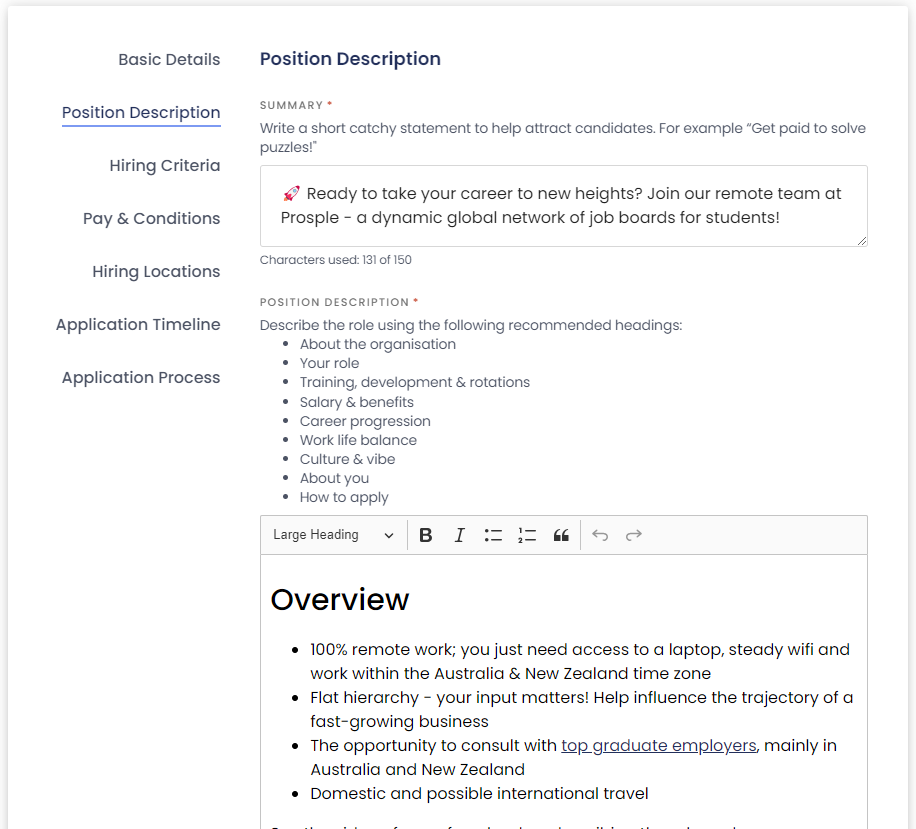
Position Description
Hiring Criteria
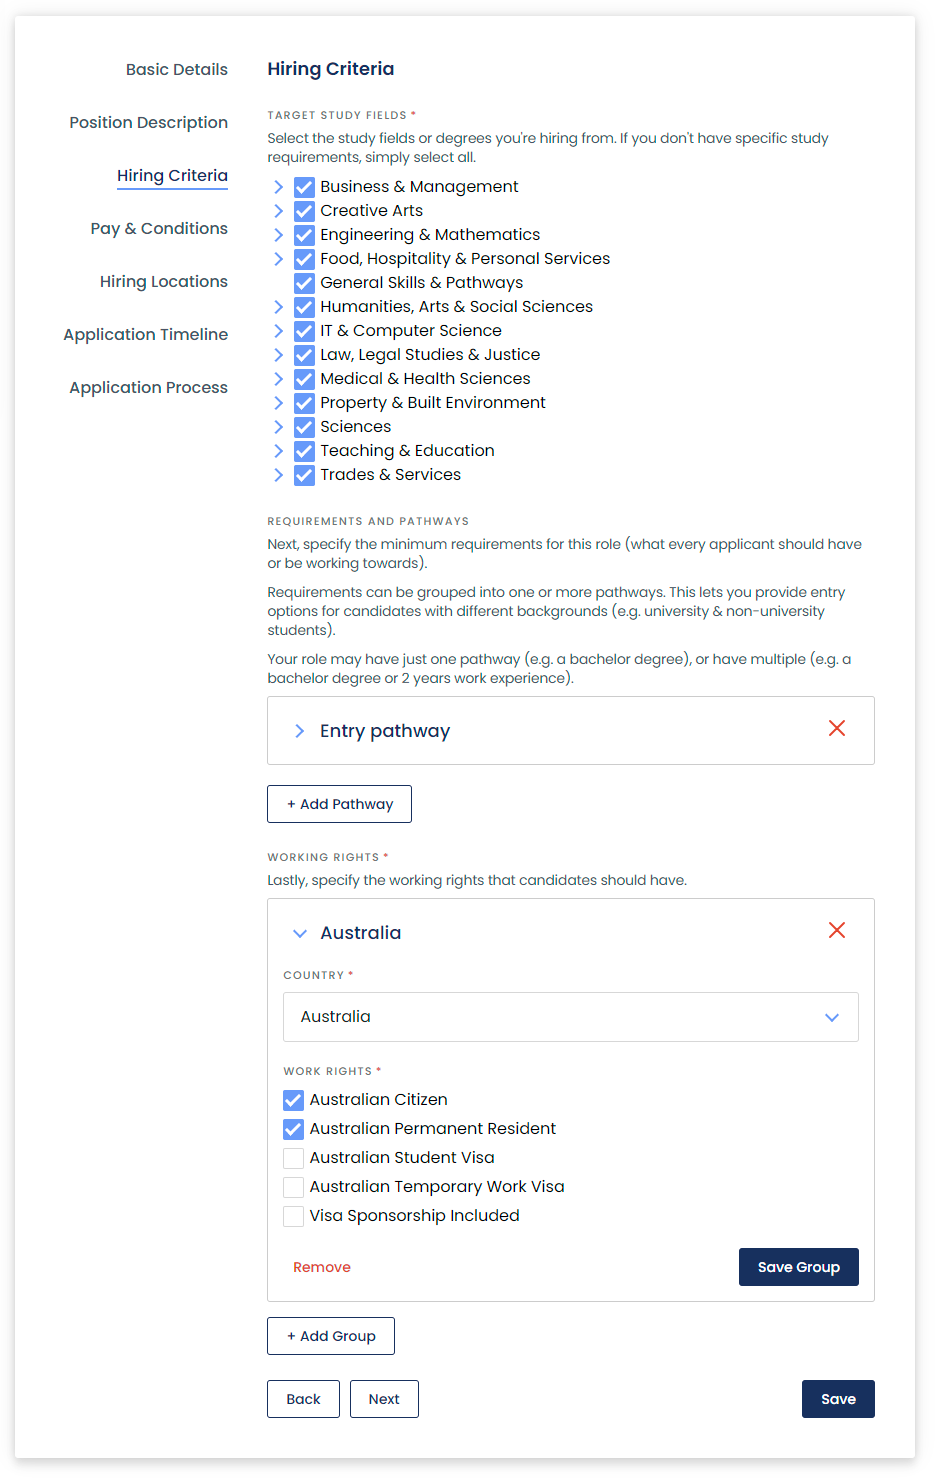
This is where you will identify the study fields/majors that you will be accepting for this role.
Pay & Conditions
Place your annual salary for this role.
Hiring Locations
Identify if the role is on-site, remote, or hybrid and pick the countries you are hiring for.
Application Timeline
Identify the time zone so that this will appear and close on the dates you have specified, dependent on the timezone. The latter portion is identifying when the successful hire commences working with you.
Application Process
This sub-section is crucial, as it determines where the “Apply Now” button will be located.
When you click save, you’ll see a prompt indicating that the job will be live shortly. However, if you opt for candidates to apply directly via Prosple, it may take a bit longer since the Customer Success team needs to create a unique application for the job before it goes live. Our team will review your submission the next business day, and will be visible online within a few hours after that.
While the application process may seem lengthy, it ensures that we provide adequate information to attract the right candidates for this opportunity.
Note: You can publish or un-publish jobs in this section using the toggle on the page. You can upload as many jobs as you like, but the number of published jobs will depend on the available job slots in your profile. If you need to add more job slots, please coordinate with your Account Manager or email hello@prosple.com
You can also check this video tutorial on how to log in, update your profile and upload a job posting via the employer portal.
Related Articles
Can you please approve my job post?
We don't need to approve your job post for it to appear on your employer profile. If you have just posted a new job, it can take up to 24 hours for your job to be published on all sites in the Prosple network. To check if it your job is live you can ...Issues saving a job opportunity
If you're having trouble saving a job, here's what you can do: Check that you have filled each required field. Refer to this article for more information: https://prosple.com/knowledge-base/employers/how-to-post-a-job Complete all required fields: Go ...How to write a killer job post
In today's competitive job market, capturing the attention of the right candidates—especially Gen Z—requires more than just a basic job listing. With rising economic pressures and a shifting employment landscape, writing a job post that stands out is ...How do I link my job to TAFE NSW?
Jobs Connect - TAFE NSW, is in partnership with Prosple with our technology powering their career directory. Any jobs you post via the Prosple employer portal will automatically show on Jobs Connect - TAFE NSW within 24 hours of being published.What kind of jobs can I post?
Understanding the types of jobs that fit the Prosple platform is key to matching talented grads and interns with opportunities that align with their skills and career goals. Whether you're listing full-time, part-time, casual jobs, or internships, ...
